
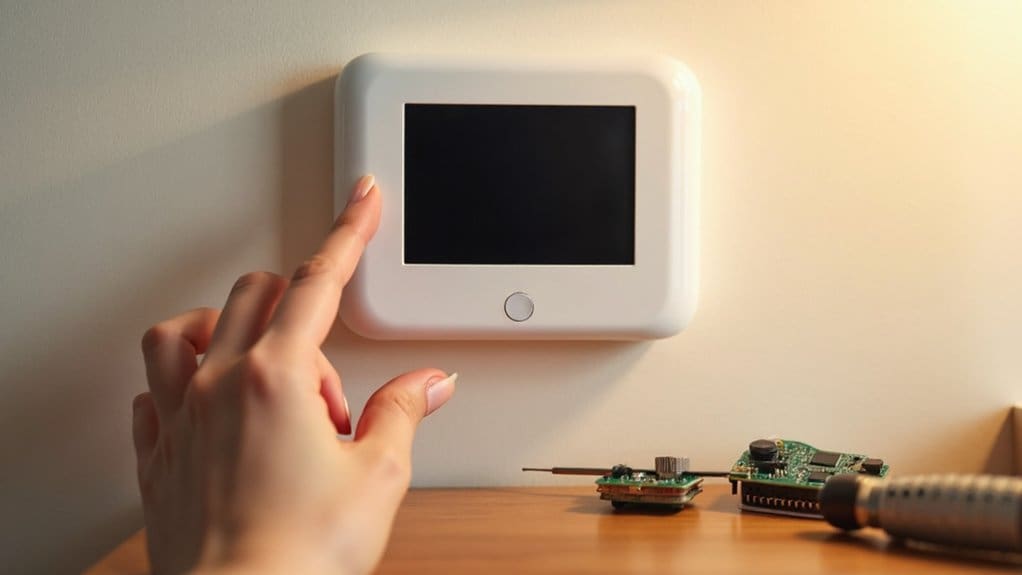
When your smart thermostat malfunctions, start by checking your HVAC system’s circuit breaker and battery levels, then perform a factory reset to clear software glitches. If you’re experiencing Wi-Fi issues, restart your router and update the thermostat’s firmware. For temperature inaccuracies, clean the sensors with compressed air and verify proper placement away from heat sources. Check wire connections at both the thermostat and HVAC control panel, and consult professional guidance for extensive solutions.
Key Takeaways
- Check power sources by examining circuit breaker, battery level, and wire connections at both thermostat and HVAC panel.
- Resolve Wi-Fi issues by verifying network connection, restarting router, updating firmware, and checking signal strength throughout home.
- Fix temperature inaccuracies by cleaning sensors, adjusting offset settings, and relocating thermostat away from heat sources.
- Perform factory reset to eliminate software glitches and corrupted settings when standard troubleshooting methods fail.
- Address short cycling by adjusting temperature differential settings and ensuring proper HVAC system compatibility with thermostat model.
Diagnosing Power and Battery Problems
Most smart thermostat issues stem from power supply problems, making this your first checkpoint when troubleshooting a malfunctioning device. Start by checking if you’ve got power to your HVAC system at the circuit breaker. A blown fuse or tripped breaker often causes complete thermostat failure.
Next, examine your thermostat’s battery level if it’s battery-powered or has backup batteries. Low batteries create erratic behavior and display problems. Replace them with fresh ones and wait several minutes for the system to stabilize.
If your thermostat still won’t respond, try a factory reset. This clears software glitches that might prevent proper operation. Locate the reset button or follow your model’s specific reset procedure.
Check all wire connections at both the thermostat and your HVAC system’s control panel. Loose or corroded wires interrupt power flow. When thermostat issues persist despite these steps, contact a professional technician to diagnose deeper electrical problems.
Resolving Wi-Fi Connectivity Issues
Wi-Fi connectivity problems can frustrate any smart thermostat owner, but you’ll find most issues resolve with systematic troubleshooting. Start by verifying your thermostat’s connection to your home Wi-Fi network and double-check that you’ve entered the password correctly. Even minor typos can prevent successful pairing.
Next, assess the Wi-Fi signal strength at your thermostat’s location. Weak signals often cause intermittent connectivity issues. If the signal’s poor, consider relocating your smart thermostat closer to the router or installing a Wi-Fi extender to boost coverage.
When connectivity problems persist, restart both your router and thermostat to clear temporary glitches that might be blocking the connection. Additionally, update your thermostat’s firmware and companion app to their latest versions, as outdated software frequently causes compatibility issues.
Finally, confirm your thermostat’s compatibility with your current home Wi-Fi network and router specifications. Older network infrastructure may require upgrading to support modern smart thermostat connectivity requirements effectively.
Fixing Temperature Reading Inaccuracies
After establishing a stable network connection, you might discover your smart thermostat displays temperatures that don’t match what you’re actually feeling in your home. This discrepancy often stems from poor sensor placement or environmental interference.
First, check if direct sunlight, heat vents, or drafts affect your thermostat’s location. These factors skew readings considerably. Make sure your thermostat isn’t mounted near windows, exterior doors, or heating and cooling vents that create temperature fluctuations.
Clean the device’s sensors using compressed air to remove dust buildup that impacts accuracy. If your thermostat needs recalibration, access the settings menu and adjust the temperature offset by comparing readings with a separate thermometer placed nearby.
Consider relocating thermostats installed in inappropriate areas like hallways or rooms with poor air circulation. When persistent issues remain despite troubleshooting, contact an AC expert for professional assessment. Sometimes internal sensor failure requires replacement parts or complete unit substitution.
Addressing Control and Response Malfunctions
When your smart thermostat fails to respond to commands or control your HVAC system properly, you’re dealing with one of the most frustrating repair scenarios. Smart thermostats like Honeywell Home models depend on reliable power and connections to function correctly.
Make sure the thermostat has power and the thermostat is connected properly to your HVAC system. Check your home’s circuit breaker panel for tripped breakers or blown fuses that could interrupt operation.
If power isn’t the issue, restart your device or perform a factory reset to resolve software glitches. Many control problems stem from compatibility issues, so verify your smart thermostat works with your specific HVAC system.
Don’t overlook firmware updates. Check for software updates for both your thermostat and its companion app, as outdated firmware frequently causes control malfunctions. These systematic troubleshooting steps will restore your thermostat’s responsiveness and proper operation.
Solving Short Cycling and System Communication Problems
Two critical issues that plague smart thermostats are short cycling and communication breakdowns between your device and HVAC system. These common issues often stem from incorrect installation, poor Wi-Fi connection, or misconfigured settings.
When your system short cycles, first check your thermostat’s temperature differential settings. Most units require a 1-2 degree buffer to prevent constant on/off switching. Navigate to your thermostats Settings menu and adjust accordingly.
For communication problems, restart your smart thermostat by removing it from the wall plate for 30 seconds. Verify your internet connection strength near the device location. Weak signals cause frequent disconnections.
If problems persist, visit your manufacturer’s website for device-specific troubleshooting guides and firmware updates. Many communication failures result from outdated software that can’t properly interface with modern HVAC equipment. Reset your network settings and reconfigure your Wi-Fi connection if necessary.
Troubleshooting Remote Access and App Integration
While short cycling and communication failures can disrupt your smart thermostat’s basic operation, remote access problems prevent you from controlling your home’s climate when you’re away. These issues typically stem from connectivity problems between your smart thermostat and your smart home network.
Start by verifying your smart thermostat is connecting to the internet properly. Check your Wi-Fi signal strength near the thermostat’s location, as weak signals cause intermittent connectivity issues. If the signal’s poor, consider relocating your router or installing a Wi-Fi extender.
Next, troubleshoot your companion app by restarting it and logging in again. This resolves temporary glitches that block remote access. Guarantee the companion app has necessary permissions for remote control features.
If problems persist, consult your manufacturer’s instructions for device-specific troubleshooting steps. Some thermostats require specific network configurations or have unique setup requirements that aren’t immediately obvious but are essential for reliable remote access functionality.
Checking Wiring Connections and System Compatibility
Beyond connectivity issues, faulty wiring connections often cause smart thermostat malfunctions that mimic network problems. Before returning the thermostat to the retailer, examine your system’s compatibility and wiring integrity.
First, verify your HVAC system matches your programmable thermostat’s requirements. Check voltage specifications and wire configurations against manufacturer guidelines. Most common smart thermostat models require a C-wire for continuous power, which older systems might lack.
Inspect wire connections at both the thermostat and HVAC unit. Loose or corroded terminals create intermittent failures that appear as connectivity issues. Tighten connections and clean oxidized contacts with electrical cleaner.
If problems persist despite stable internet service, try connecting the thermostat to a mobile hotspot. This isolates potential interference between your thermostat and router. Document connection attempts and error messages for technical support.
When wiring proves incompatible or damaged beyond repair, professional installation guarantees proper system integration and prevents costly equipment damage.
Performing Factory Resets and Advanced Repairs
When standard troubleshooting fails to resolve persistent smart thermostat issues, performing a factory reset often eliminates software conflicts and corrupted settings that survive basic reboots. You’ll find the reset button either on your device’s face or hidden behind the display panel. Hold it for 10-15 seconds until the screen goes blank.
After resetting, you’ll need to reconfigure your router and smart home connections, including any linked devices like your smart lock or air conditioner. Don’t worry—your energy savings programs will come back once you re-establish your settings and schedules.
For advanced repairs, check if your remote control app syncs properly with the restored device. If connectivity issues persist, consider firmware updates or professional diagnosis. Some models require specific reset sequences, so consult your manufacturer’s documentation. Remember that factory resets erase all custom programming, so document your preferred settings beforehand to streamline the reconfiguration process.
Frequently Asked Questions
How to Fix Digital Display on Thermostat?
You’ll need checking display calibration first, then try replacing display panel if necessary. Address display pixel issues by resolving display flickering, troubleshooting display connectivity problems, and optimizing display brightness settings for proper functionality.
What Is the Lifespan of a Digital Thermostat?
Your digital thermostat’s average lifespan spans 8-10 years with proper installation and maintenance. You’ll extend its life through regular battery replacement, sensor calibration, and resolving compatibility issues affecting HVAC integration performance.
How to Troubleshoot a Smart Thermostat?
Don’t let connectivity issues drive you up the wall! Check your wireless connectivity, verify HVAC compatibility, examine battery replacement needs, calibrate temperature settings, test smart home integration, and inspect power source options systematically.
Where Is the Reset Button on a Digital Thermostat?
You’ll find the reset button location on your thermostat’s back or side panel. For DIY troubleshooting steps, hold it 5-10 seconds for factory reset process. If thermostat power cycling fails, consider professional repair services.
Conclusion
You’ve diagnosed power failures, you’ve restored Wi-Fi connections, and you’ve calibrated temperature sensors. You’ve repaired unresponsive controls, you’ve eliminated short cycling, and you’ve reconnected remote access. You’ve inspected every wire, you’ve confirmed system compatibility, and you’ve performed complete resets. Your smart thermostat now responds instantly, operates efficiently, and integrates seamlessly. You’ve transformed a malfunctioning device into a reliable climate control system that’ll serve your home perfectly for years ahead.